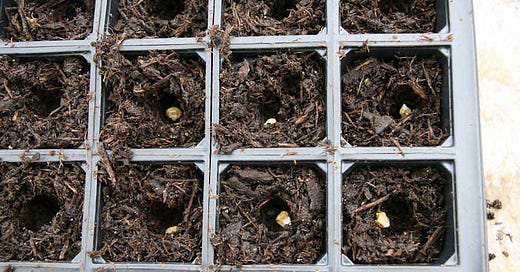
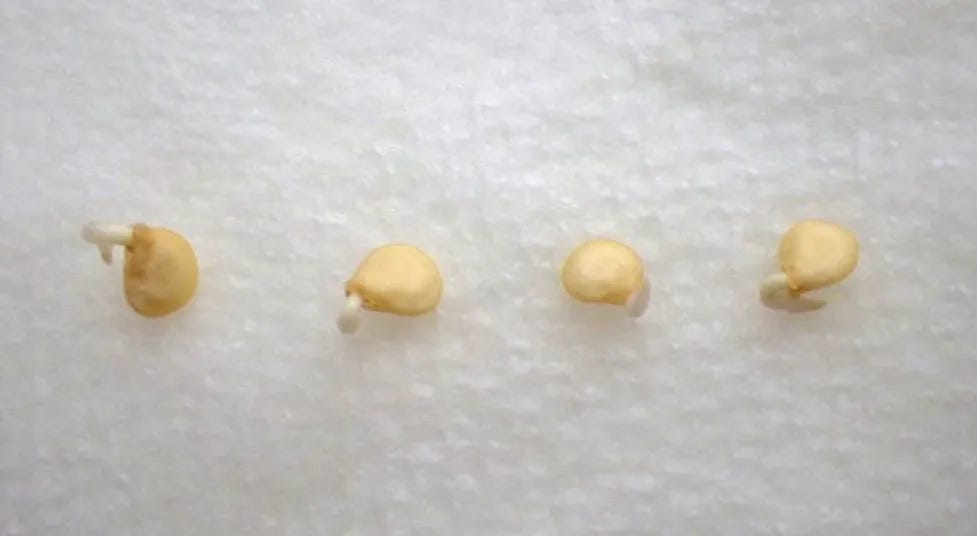
Welcome back to Yardening with Yeti, I hope everyone is doing exceptionally well, today’s topics are the sowing and storage of seeds. Sowing is a critical step because if the seeds don’t start, well we’re all going to STARVE!!!!! Ok, slight exaggeration, but very important nonetheless. Between the soil, water and the heat from a grow light or natural sunlight an environment is created that softens the seed and promotes the start of the growing cycle. The image underneath shows the very start of the seedling coming out of the seed. The first signs of LIFE, you’re a plant parent!
The method I prefer is to start the seeds early indoors as I’m in a northern climate and summer is late and short. If you are in a hotter growing zone, you can do this outside and just skip the part of transplanting them outdoors you lucky bas-….lovely people. Both Canada and USA are broken up into growing zones, each country has their own zone designations and they are not interchangeable. I sow my seeds in small individual pots, 4” diameter should be good as well as drainage holes at the bottom. I like to fill the pots till about 1/2 in to the brim with potting soil. The next step you will want to moisten the soil. Take the pots to the sink and run a low stream of water and move it around and around till water is coming from all the drainage holes at the bottom. I watch for all the drainage holes is so that I know water is throughout the soil not just one side. Once the soil is moistened throughout it’s time to sow those seeds! For extra motivation pretend a crowd is chanting “Sow Those Seeds”.
Now that you have the soil moistened you need to make small indents, I pushed down till my first knuckle as these will only be small seedlings till transplanting outside. Alternatively some seeds only need to be sprinkled on the soil, individual packages will have specifications, so always read them first. If starting seeds outside follow the instructions on package for depth and spacing requirements as these won’t be moved.
Now comes the dangerous part, trying to handle seeds while also not losing them. I use my palm as a cup to dump seeds out as its easy for me to separate the ones I want and push the rest back, you can use plain paper or paper towel as the white background will make the seeds more visible and then form a chute that you can pour seeds back into the package for storage, for the moment. When picking up the seeds I recommend two options, damp finger tip or tweezers. For every indent I put two seeds, simply as back up if one seed doesn’t germinate we haven’t wasted our precious growing time. Where’s Sméagol when you need him? Once the seeds are in the soil, you will lightly backfill the indent, Just enough to cover the seed. The seeds still need to breathe. For seeds you just sprinkle on top, well sprinkle and then stop…..hammerti……ooops brain flux.
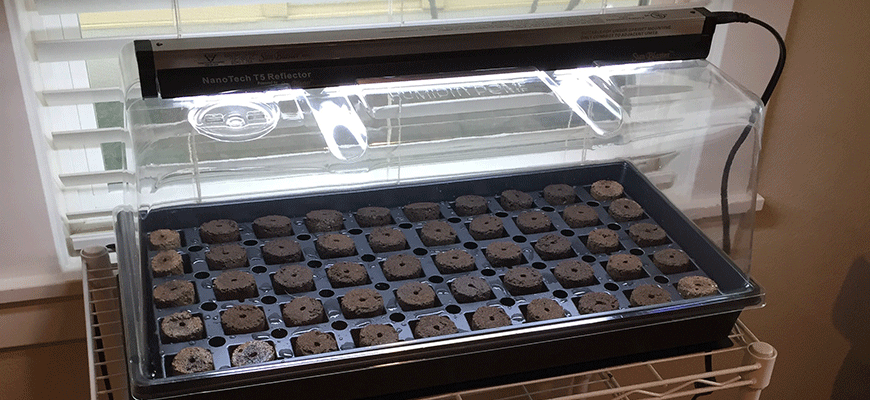
Once you have the seeds sown, you’ll want to create a warm humid environment to germinate the seeds. My preferred method is to put them in one of my germination domes with grow lights (12 hours on) to warm the environment, plus it gives room for growth and has air vents. The vents will stay closed till the seeds sprout then I’ll open the air vents on top or simply give the dome a quarter turn to create corner to allow air flow, too much humidity isn’t great for seedlings once they’ve started growing.
Alternatively you can use plastic wrap till they spout and then remove the plastic. Make sure the area where the seedlings are is a warm area or you may want to make a dome, plastic wrap and skewers can work. Put the skewers in the corners of the pot(s) and wrap with plastic wrap and leave the top half covered after the initial sprout. As a supplemental heat source you can use heat mats, I’ve yet to use them myself except when I had lizards back in the day. I actually tried to build a vivarium for Dart Frogs, didn’t get far with it though.
Back to the seeds now, just in time to wait and then wait some more. All seeds have different germination times, I linked to site with an easy graphic for different germination times and temperature ranges best suited for some common vegetables. Until the seeds start sprouting its very hands off except turning the light on/off, which a timer can eliminate as well. The next stage will be seedlings and thus the next article will be on seedlings. Before I go though, I want to address seed storage.
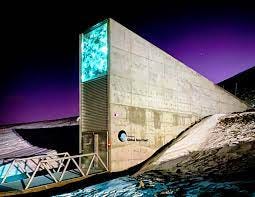
After you’ve planted your seeds you will have seeds leftover that you’ll want to keep till next growing season. My preferred method is to reseal the individual packs with tape, as they hold lots of useful info. I will then take the packs and sort them into groups (i.e. peas/beans, lettuces, cucumber, tomatoes etc.) and hold with a elastic. Put the different groups into a plastic freezer bag or air tight container and then into the freezer. The reason I use the freezer is because years ago I watched a documentary on Svalbard Global Seed Vault in Norway, it holds a variety of all the world’s seeds in a large freezer vault. If it’s good enough for them, it’s good enough for me. As well my father in law and sister in law kept theirs’s in the freezer as well so story checked out for me.
Well that’s going to be all for this edition of Yardening With Yeti, thanks for the reads, shares and likes! It’s truly appreciated.

